My Website Design Process
Doing something for the first time is always daunting. Whether it’s embarking on something that you’ve never done before, or working with someone new, there is always an element of apprehension and uncertainty which can take some bravery to get over. I have found that arming myself with as much knowledge as I can always helps me get over myself and get on with the new thing!
Working with a designer is no different. If you’ve never worked with a website designer before, or it’s your first time working with a particular designer, you’re going to want to find out as much as you can about them and the way they work before you hand over the reins to your website.
Obviously, designers all have their own ways of working, but I’m hoping that by giving you a behind the scenes of my design process it will remove some of the mystery around working with a website designer, and gives you the confidence to reach out to someone (maybe me!) if you’ve been sitting on the fence.
1 | The initial enquiry
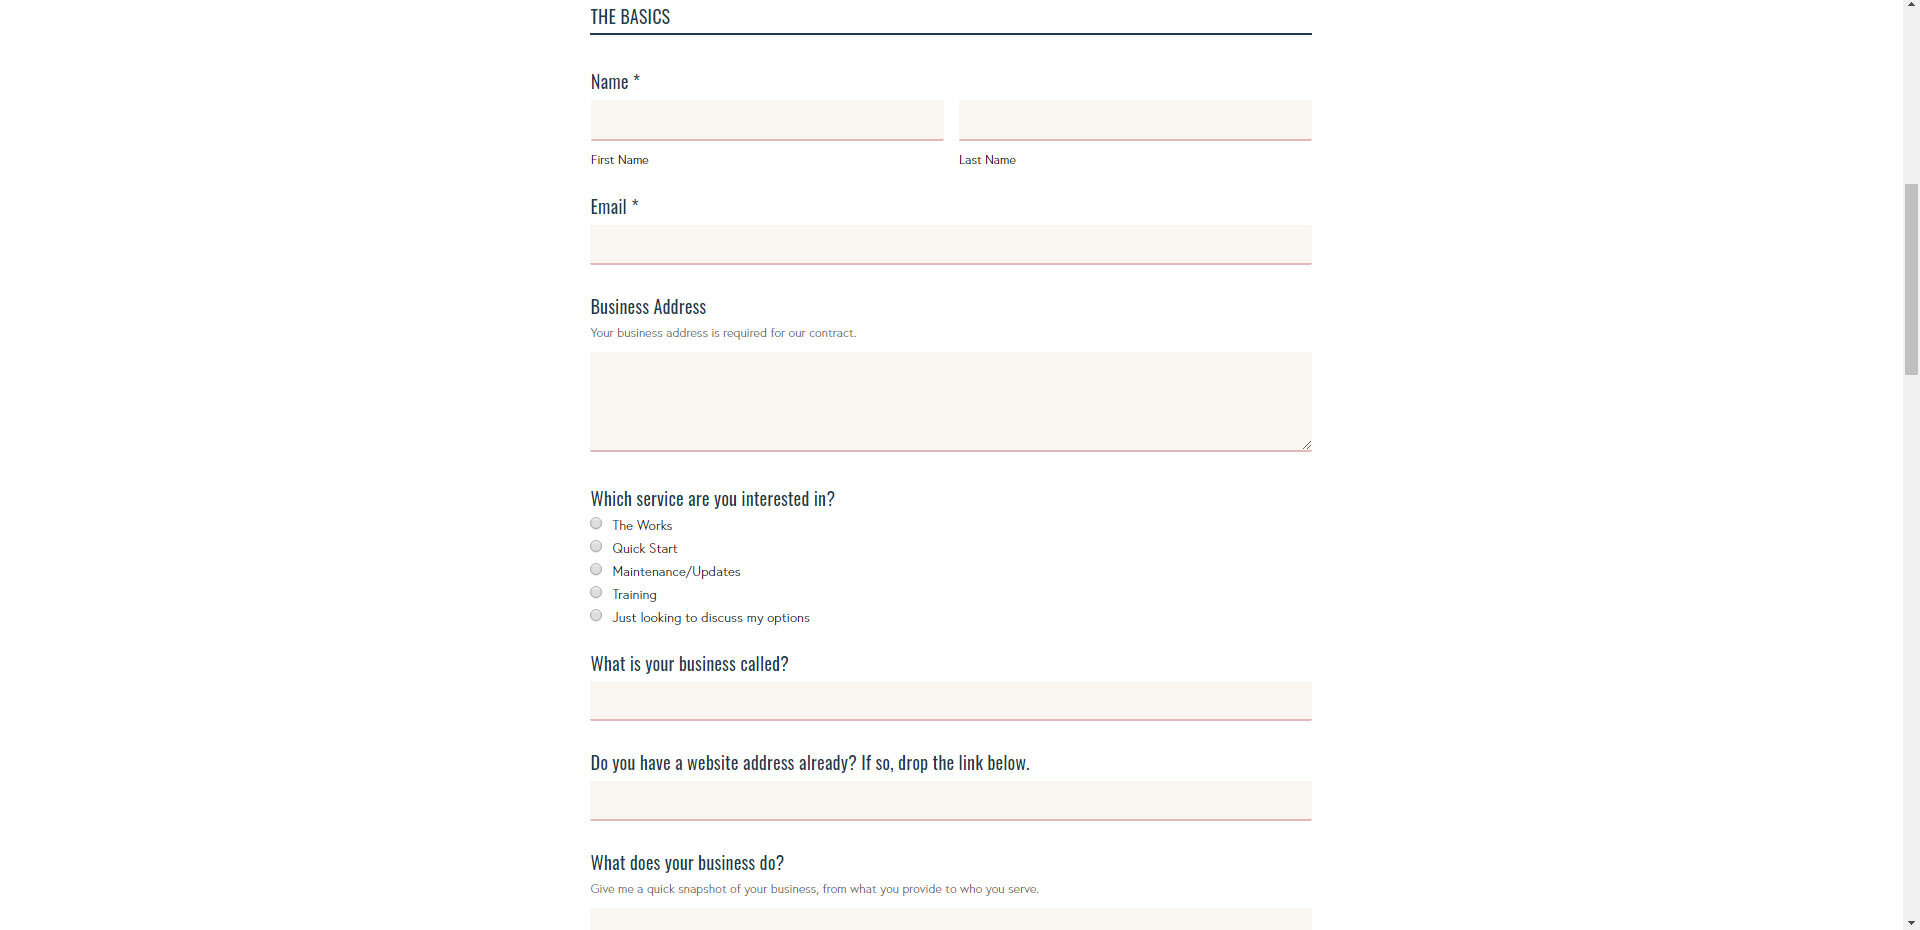
When someone wants to work with me, the first thing that happens is that they will fill out the design questionnaire on my website – you can see it here. This helps me to gather the initial bits of information I need to help me understand if the project will be a good fit for me, and that I’ll be good fit for the potential client. I will try my hand at most sites, but there are some projects that would suit someone else, so if I think I’m not the girl for the job I like to be honest with clients, rather than try to deliver something that’s not my strong suit.
2 | The follow-up call
If the enquiry sounds like a good fit, I will get in touch via email to arrange a video call. I find it really helpful to chat over the website project face to face, because there are things that can get lost, or not correctly conveyed if we are communicating purely through email. If it’s a local business, at this stage I will arrange an in-person meeting instead. At this call or meeting, I can really get to know the client, their business and what they really need from a website. It’s not all about having something that looks pretty, there is always something that they need from a website – whether it’s making sales easier, connecting with their customers or showcasing their brand ethos – these are the things that can be missed on paper.
3 | The business bit
After our meeting, both the client and I will know if we are a good fit. If so, I will issue the proposal, contract and invoice for the deposit through my project management software. This really streamlines the whole contract and payment process, which is great for me, and clients really appreciate how simple it is. One link that takes them to the contract, for them to read and approve, and the online payment page (if you need to make a bank transfer instead there are details for that in the invoice too- I cover all bases!).
And that’s you booked in! Once the contract is signed and deposit paid the spot is secured in my diary and we can start prepping for the project.
4 | Prestart work
A fortnight before your project is due to start, I will share with you all the information you need to prepare for our upcoming project. This is an email that includes the following:
Link to the client portal which covers the essentials of our time together
My work hours
How we will communicate (with a short video tutorial)
FAQs
How to schedule a call
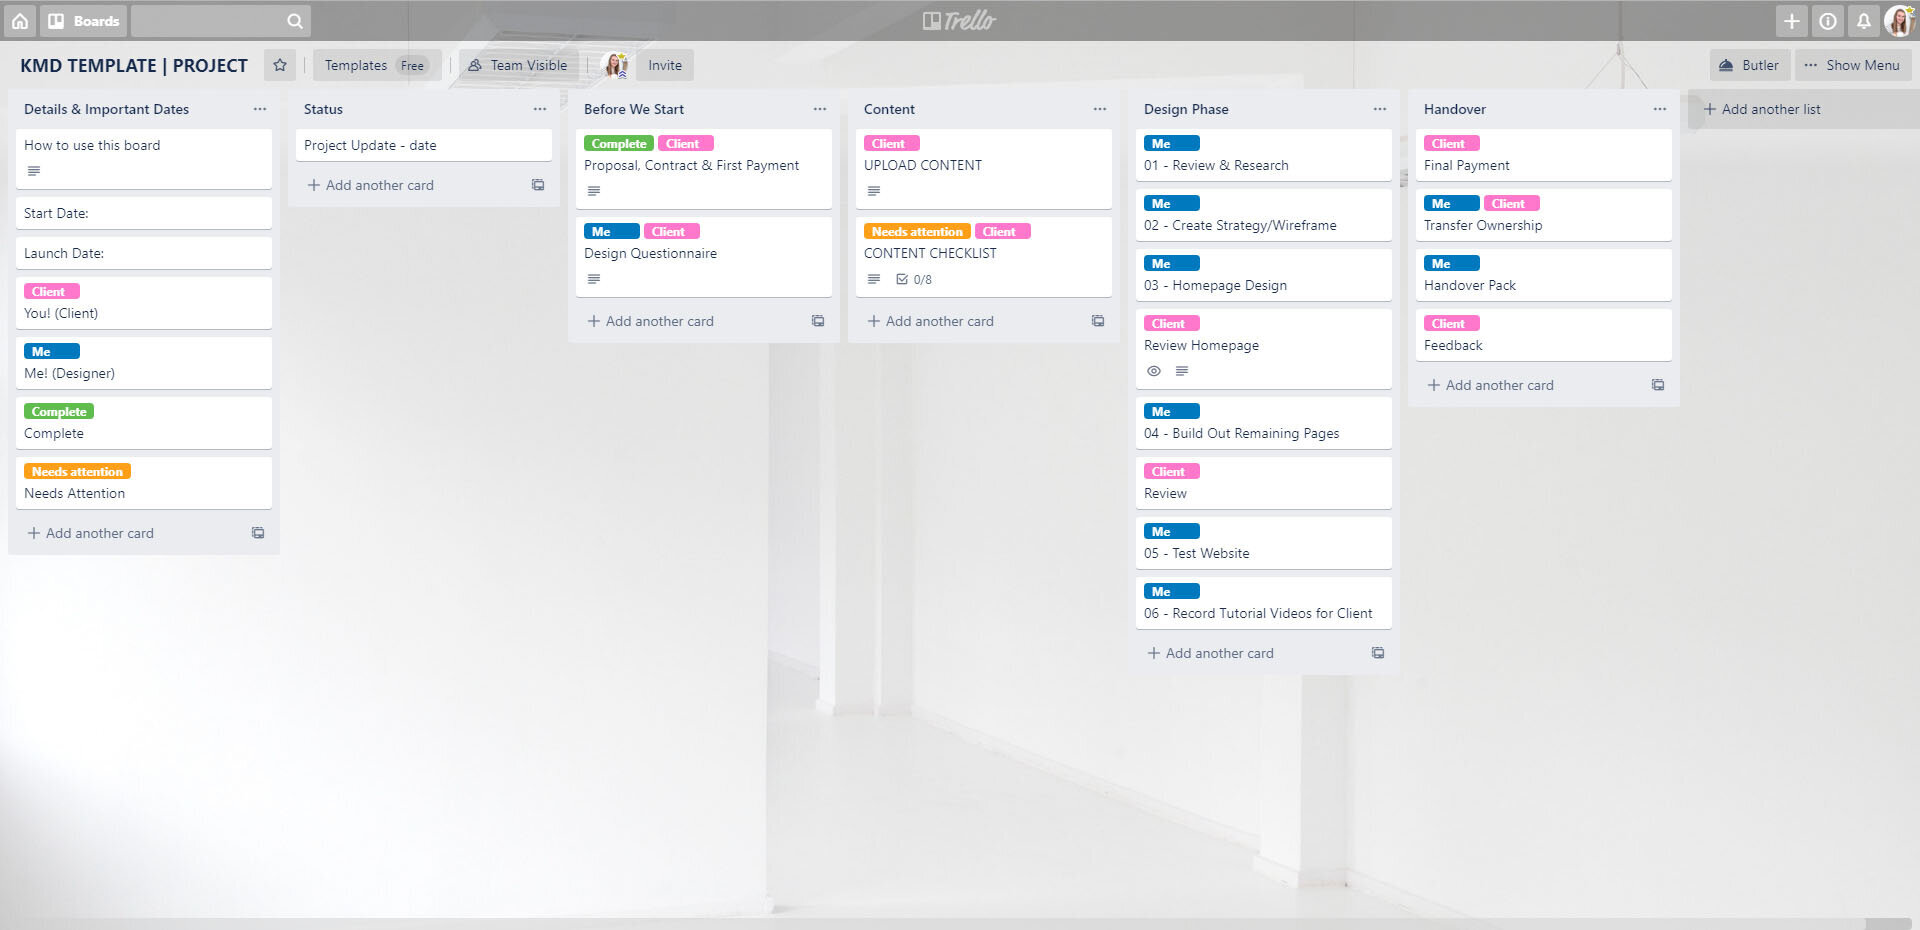
Link to our shared project board (I use Asana for this)
Link to our shared Google Drive folder, where you will upload your images, branding and text.
This may seem like a lot initially, but once you work through everything, you’ll find the steps are really simple to follow and will set us up for a really smooth and easy to manage the project.
If you don’t have a strong idea about what content you need or want on your website at this stage, I will also share with you a website planning guide, that will walk you through creating content for your site.
You will be expected up upload the majority of the content prior to our project start date, which is why I like to send over the welcome pack at least two weeks before our project start date, to give you time to bring all of this together.
5 | Time for the fun bit!
At this stage, you can sit back whilst I get to work. My first step is always to read through your design questionnaire again, look through all of my notes from our chat, and research your area of business. This helps me to form an outline strategy for your site design.
From here I sketch out a simple wireframe version of your site in my sketchpad (honestly, there will be a few different sketches until I land on the one I want to start with!) before I get started on the computer.
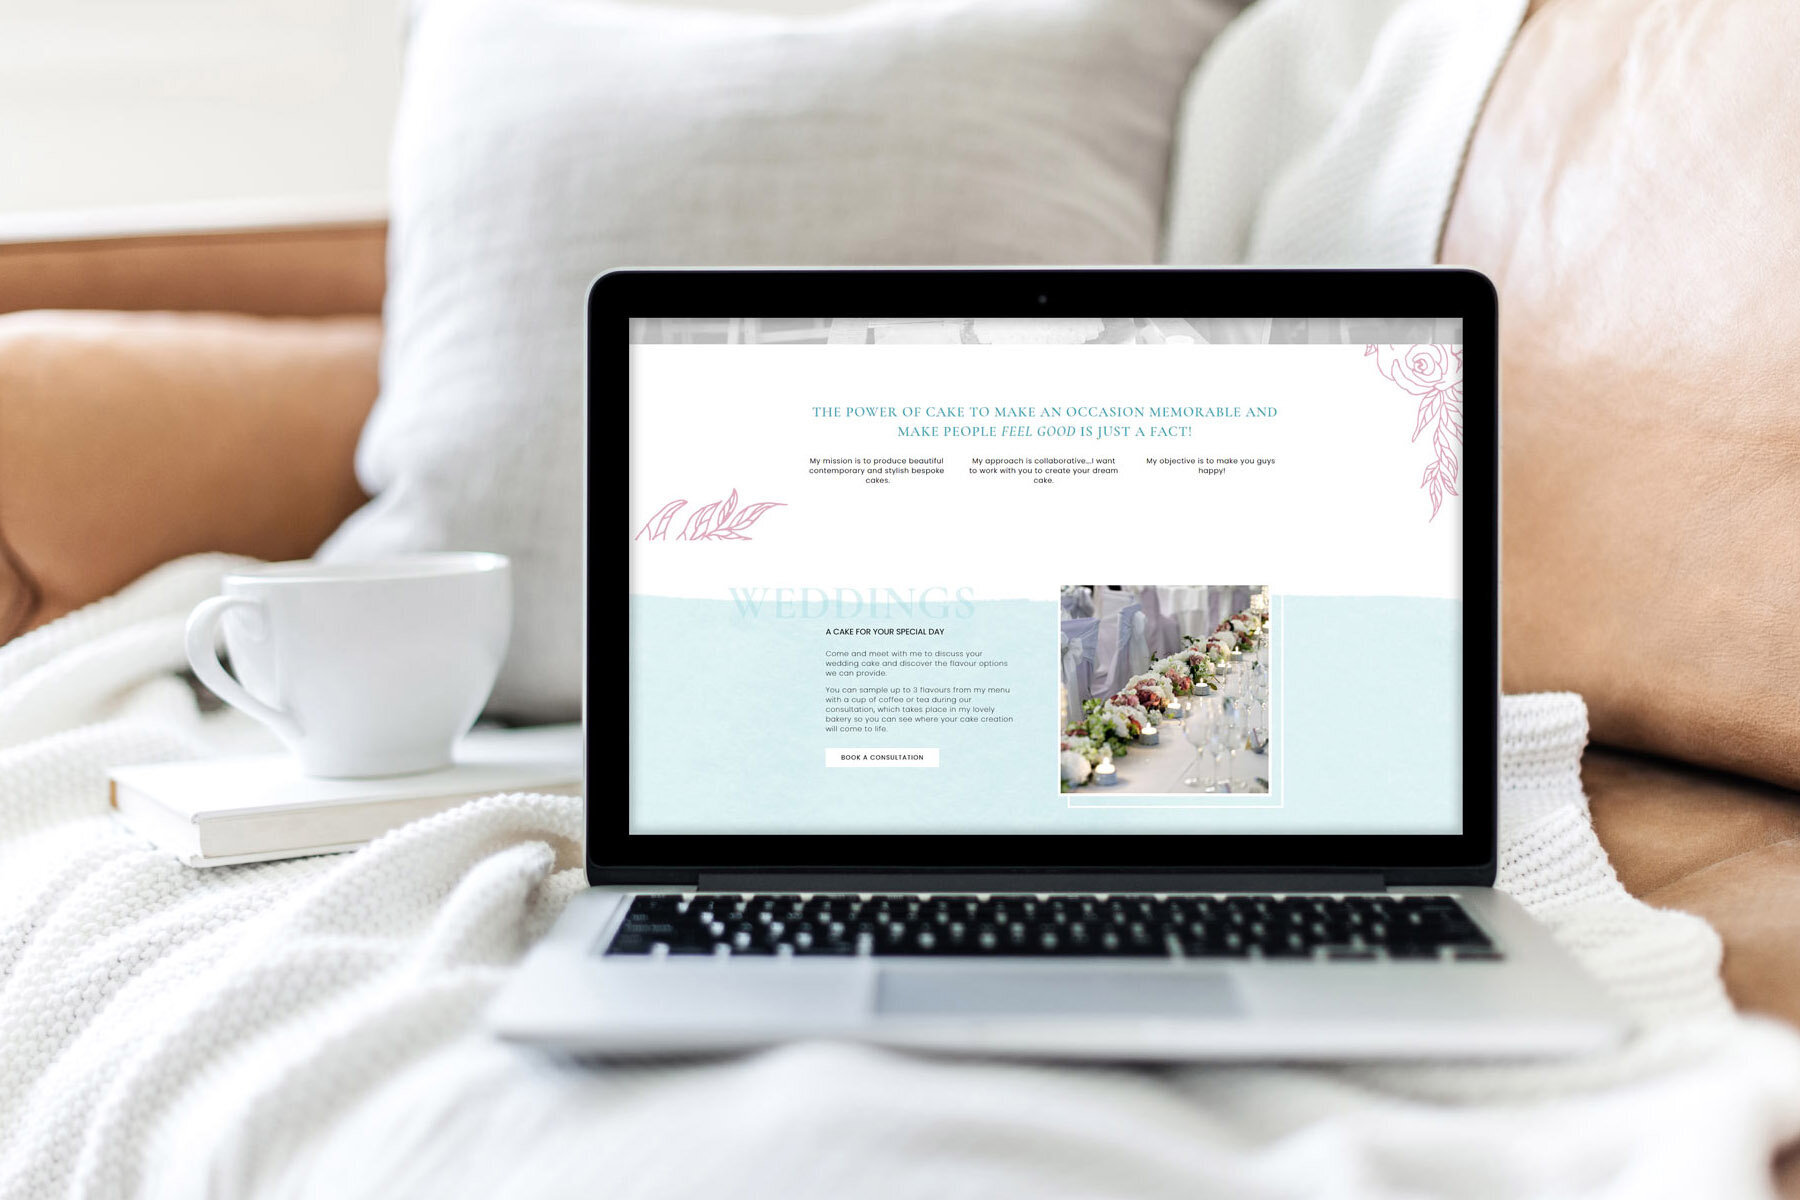
When I’m happy that my draft design is going to work with the website strategy, I move straight to Squarespace to build out the homepage design. At this stage I will be using a mixture of your content and placeholder content to create the page. This helps us to see where you might be missing some information, and how we can start to distribute it throughout your website and the various pages. I will also be bringing in some of the styling elements from your existing brand to give a close representation of the final design.
6 | Over to you
Once I’ve completed the homepage design, I share the link with you, via a project management page, and give you around 3 days to review and comment on the site. Along with a link to the draft website, I also send across a video of the website with my commentary. I like to do this alongside sharing the link to the site as it allows me to explain what I’ve done and why. I can also highlight specific areas I want your thoughts on and can give more information over certain functionality on the site.
7 | Finishing the site
Once I’ve had your feedback on the homepage, I’ll have a pretty good idea of what you do and don’t want on the site overall. So at this point, I will build out the remaining pages over the next couple of weeks, before sharing them with you for comment – just as we did for the homepage.
Once the design is signed off by you and you are completely happy with everything, we area ready to start the handover!
8 | The handover
As I mention throughout my website and design services pages, it is really important to me to not just drop and run when I complete a website design. I want my clients to feel comfortable and confident with the website they’ve now got and be able to maintain and update the site themselves. So, at this stage of the process I record video tutorials on the actual website, showing you how to do simple updates and maintenance. The videos will live on a hidden page on your website, so you will always be able to access them when you come to make any changes in the future.
Once the final payment has been made by the client, I transfer ownership of the website across, we connect your website address and we go live! I will send you a link to any files we may have created whilst building your site and you will also get access to a client only page on my site with additional resources to help you maintain your website in the future.
Woo! You’ve got a website!
Hopefully this breakdown of my client experience doesn’t overwhelm you and actually strips away any mystery behind the process. If you have any other questions about working on a website with me, or just general website design questions, drop me a message using the links below, or add a comment on to this blog post.